Creating a Whiteboard Animation
As part of my MSc, I created a whiteboard animation (aka. a video-scribed animation, or speed-drawing video) that describes the writing process.
Since its creation, the video has taken on a life of its own and is being used in online textbooks, and in courses taught around the world. I’ve received numerous inquiries about how the video was made, so today I’ll be explaining just that!
A Rose by Any Other Name
When I created this animation, the only whiteboard animations that I knew about were from RSA Animate, and there was litte-to-no information available about creating them. I winged it, and I learned a lot! A lot of time has passed since I created this animation, and with it there have been numerous technological advances. It’s likely there have been more advances between the writing of this post, and the time you’re reading it. This post isn’t not concerned with the specific technologies used, but will provide a high-level overview of how to create a whiteboard animation.
I recognize that there are now many tools that you can use to create animations, such as VideoScribe, Moovly and Sparkol. Most of these tools allow you to upload pictures and then they animate a photo of a hand moving around to create the illusion of illustration. These tools will likely allow you to create whiteboard animations more quickly and on a tighter budget, but to me, they lack the authenticity of live, hand-drawn animations. I can tell the difference and it’s likely your audience can too.
Step 1: Write a script
This is the first, and arguably, the most important part of creating a whiteboard animation. Content is king (or queen), and without a well-written script, your animation is not going to engage your target audience. It doesn’t matter how great your animations are, if your script isn’t engaging, your video won’t be either. There are a lot of whiteboard animation videos out there now, so to set yours apart, you have to have a well-written, engaging script. Start by watching my writing process video! It contains all sorts of practical advice on the writing process, all of which is applicable here. Next, allow me to offer some specific, experience-based advice for when you’re writing a whiteboard animation script.
Know exactly what want to convey in your video
Ask yourself “What do I want to convey in this video?” Brainstorm, and write it all down at a high-level. Don’t worry about the details yet. Refine it, and then refine it again. Distill your answer to a single sentence, or two, and then start from there. This may seem obvious, but having marked hundreds of blog posts (which are akin to scripts), I can tell you that the ability to focus on a well-defined central idea without meandering is one of the most difficult things to do and what sets apart great writing from the rest.
Be concise
Attention is at a premium! After writing your draft, make sure that you’ve addressed your central idea, and cut the fluff. Ruthlessly. I suggest keeping it short and sweet. Get in, and get out! You’re more likely to hold attention for a minute or two than you are for ten.
Tell a story
Your video is a story. Engaging stories have followed a similar 3-part structure since the dawn of time: introduce a conflict, crisis/resolution cycle to build toward climax, resolution. Following this rough guide, and you’ll likely have an engaging story.
Think about the illustrations
When writing the script, a natural part of the process is to think about the illustrations that accompany parts of the script. It’s important to have things that can be drawn and animated! If you have a sentence that you can’t think of an illustration for, it might be worth changing it at this point.

Step 2: Brainstorm and draft illustrations
Now that you’ve got a script, it’s time to get drawing! I worked with an artist, and we found that creating multiple drawings for each sentence was a great approach. It was fun, and gave us lots of options to create a “flow” for the animation. When we ran into sentences that were hard to illustrate, we searched Google for ideas. It’s important to note that although we wanted to have illustrations for every sentence, it takes time to animate the drawings, so occasionally for short sentences we didn’t have animations. In these cases, animations were still happening from the previous (related) sentence, or were setting up for the next sentence.
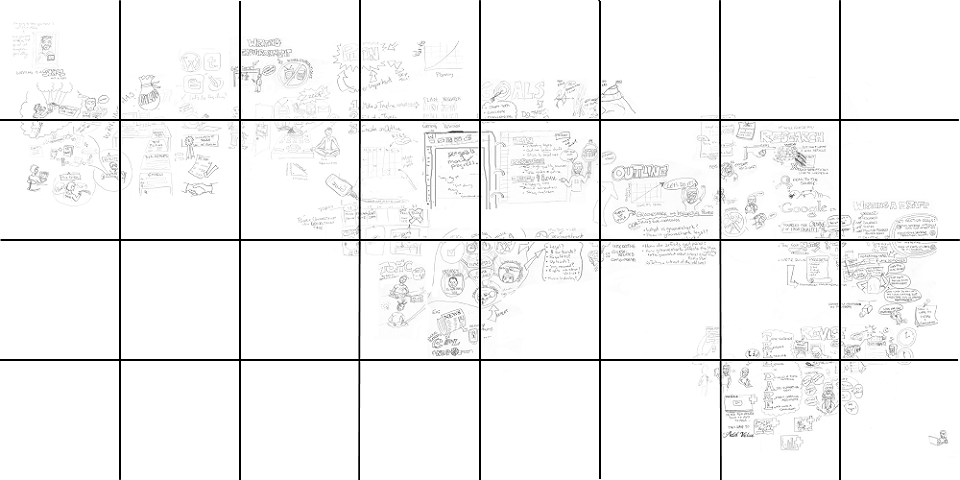
Step 3: Arrange illustrations
We drew all of the images out in full size on newsprint, scanned them, and arranged them using Photoshop to create the final layout of the drawing. The goal is to make sure you have the images arranged, and the order that you’re drawing them clearly marked.
Step 4: Record the voiceover
Now that you know what you’re saying, and what you’ll be drawing, you can record the script. You can do this yourself, or farm it out to voice professionals. If you do it yourself, make sure that you use a high-quality microphone with a a pop-filter, and try and do the recording in a space that has limited/no echo. Make sure you have a silent environment to record in! You probably don’t want to hear traffic, crying babies or coworkers, and barking dogs in the background.
Step 5: Record the drawings
Finally! You get to record the drawings!
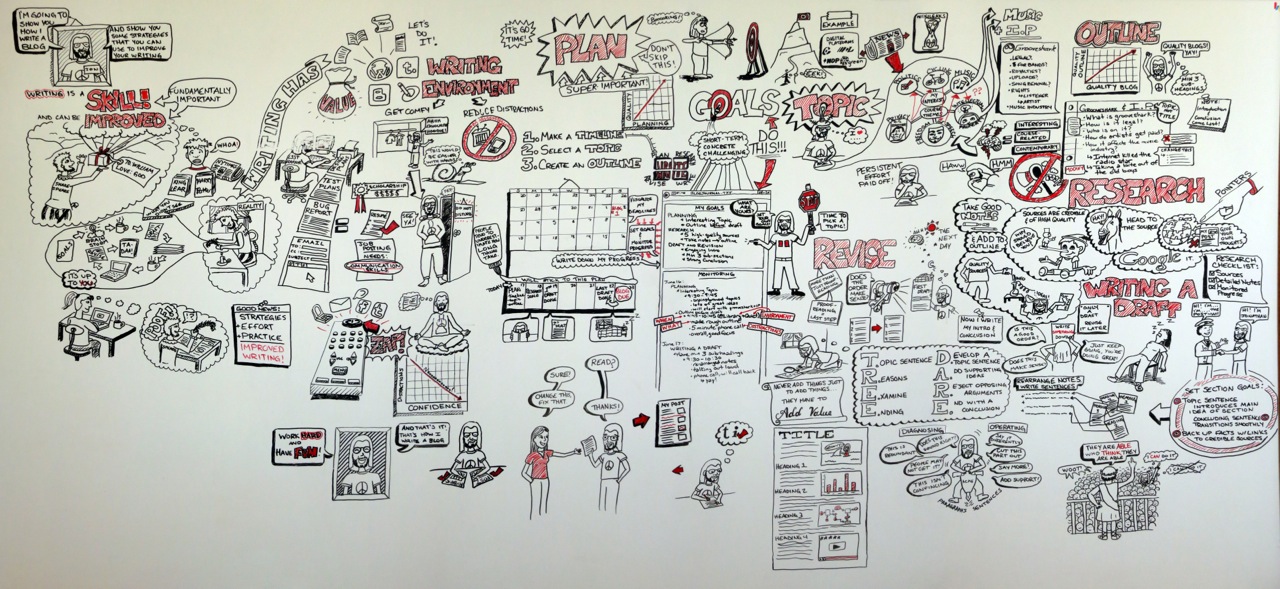
We used a high-end home video camera with HD, and importantly, a great tripod. The drawings were done on a giant whiteboard, 4’ x 8’. This was a difficult process: the artist had to be far away so that only her arm/hand showed, and had to draw vertically. If we did it again using today’s technology, I’d likely use an overhead document camera. You can take your time when doing the drawings – they’re sped up using software during post-production. We had to re-record a few of the drawings because they didn’t turn out as desired, but the viewer wouldn’t know, as lots gets left on the proverbial cutting room floor.
Step 6: Video and audio editing
Using video editing software (we used FinalCut, but there are lots of great options), each of the illustrations was sped up between 2,000 and 10,000 times so that it was synched with the corresponding audio. There was also a lot of editing done to ensure that the lighting levels were the same (the drawings weren’t all done at one time), to remove drawing mistakes or accidental artist appearances, etc., to ensure that the final product looked great.
Step 7: Export and Share!
Export the video for the appropriate medium (we were using YouTube), and get it out there!
Hopefully this gives you a little insight into the process of creating a whiteboard animation! Now get out there and make some great animations!